|
|

|
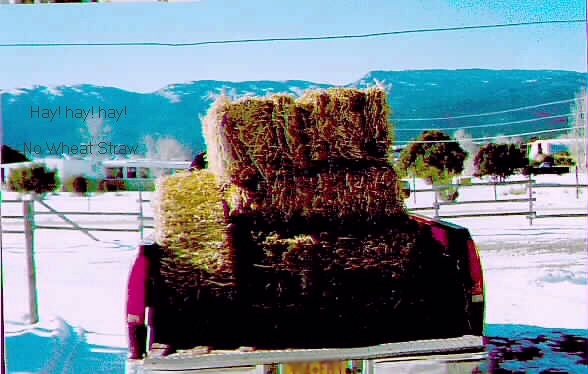
| Photo 1 Straw for "substrate" |
Photo 2 Shredding the straw |
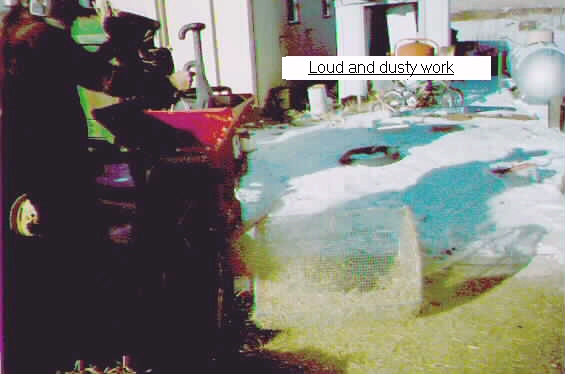
Photo 3 Cooking the straw |
How do you grow mushrooms? This is a question that I have to answer quite frequently. I have answered as simply as "plant them" to getting quite technical, with detailed discussions of sterile tissue culture techniques, liquid inoculations and details of how to regulate the growing environment and other growing parameters for optimum growth. But for this article I will not be dealing with all that, just the "Planting" part. I will try to leave out most of the technical names and terminology. I will be talking only about the oyster mushrooms, as others will use somewhat different techniques. Also some mushrooms can not be grown in a farm environment at all; they will only grow in the wild!
[Photo 1] You need something to grow the mushroom on/in, most plants grow in the dirt or as they call it, topsoil or potting soil. We call it "substrate" if it grows mushroom. For substrate I use straw. Other agriculture wastes can also be used, even used coffee grounds, whether by themselves or mixed together. I use just plain old wheat straw.
[Photo 2] The straw as it comes from the bale is not suitable as substrate. The size of the strands needs to be between 1½ to 3 inches; also the strands need to be broken or crushed so water can be absorbed. To accomplish this modification, I use a chipper/shredder to chop and crush the straw.
[Photo 3] The next step in preparing the substrate is to add moisture to the straw; then the straw needs to be pasteurized. Some people wet the straw first and then use steam to pasteurize it. I take the easy way and just "cook" it. The straw is placed into a large wire basket, then placed into a 55 gallon drum full of water that has been heated with a propane burner placed underneath. After spending 1 hour "cooking" in the water at a temperature of 160 F. the straw has absorbed water and pasteurization has occurred. The basket is then raised to let the free water run off.
|
|
|
|
| Photo 1 Straw for "substrate" |
Photo 2 Shredding the straw |
Photo 3 Cooking the straw |
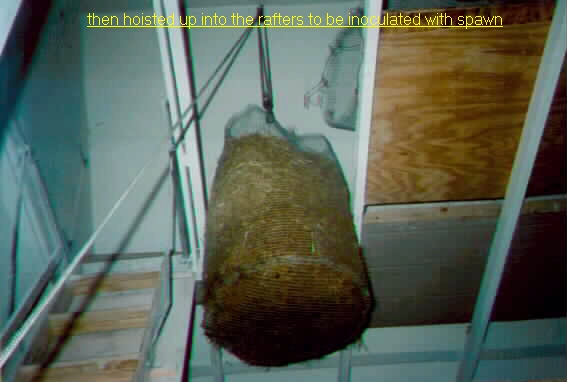
[Photo 4] After the straw has cooled, I hoist it, basket and all, into the rafters using a block and tackle.
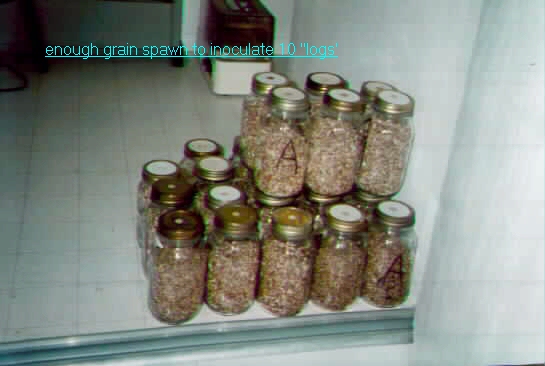
[Photo 5] I have to backtrack at this point because the next step involves using a large amount of spawn. Spawn is equivalent to a potted tomato plant that is ready to be transplanted outside. Spawn is some kind of grain that the mushroom plant called mycelium has been growing on/in for awhile. You can make your own spawn [a subject for later] or you can order it from several different companies that only make spawn. This should have been done several weeks ahead of time. The next photo shows enough spawn to inoculate (plant) ten artificial "logs."
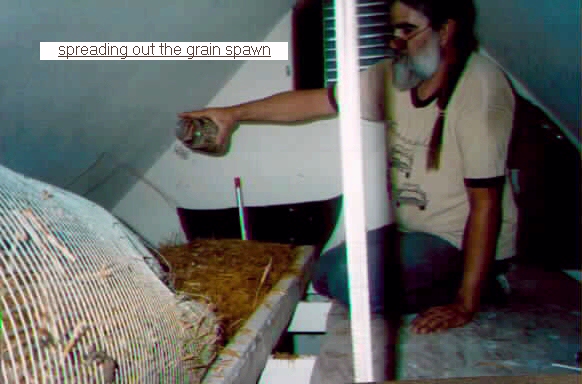
[Photo 6] The cooled, pasteurized straw is spread out to pre-measured distances and depths on a board. The spawn is sprinkled evenly over the straw, then mixed together, thus "planting" it.
|
|
|
| Photo 4 Hoisting straw |
Photo 5 Jars of "spawn" |
Photo 6 Spreading the spawn |
[Photo 7] straw is packed tightly with what I call my "wacker-packer" All this forms an artificial "log" or a column that is 8 inches in diameter x 8 feet tall.
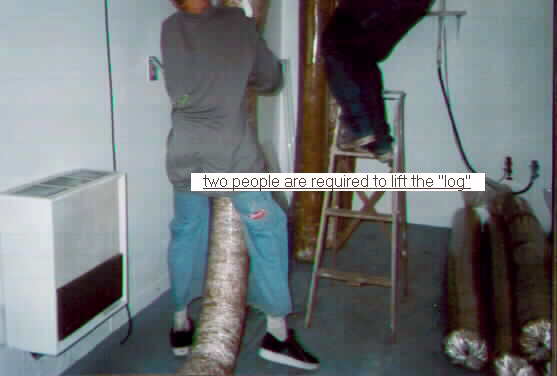
[Photo 8] The "log" is then tied off at the top, transported into the grow room and lifted up by two people.
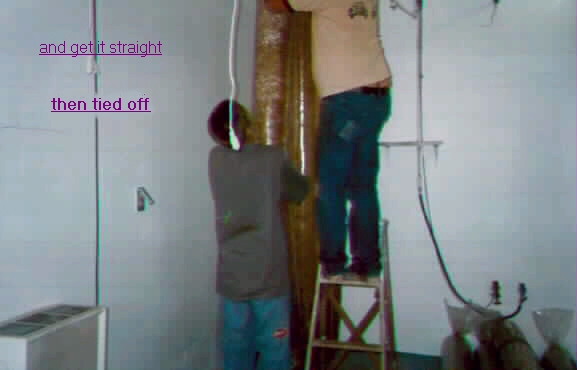
[Photo 9] The log next gets tied to a bar, and adjusted so it will hang straight but still be touching the floor.

|
|
|
| Photo 7 Packing a "log" |
Photo 8 Lifting log |
Photo 9 Tying up log |
[Photo 10] This photo shows half of my grow room planted with 10 straw logs. Remember all that spawn? It's now in those logs.
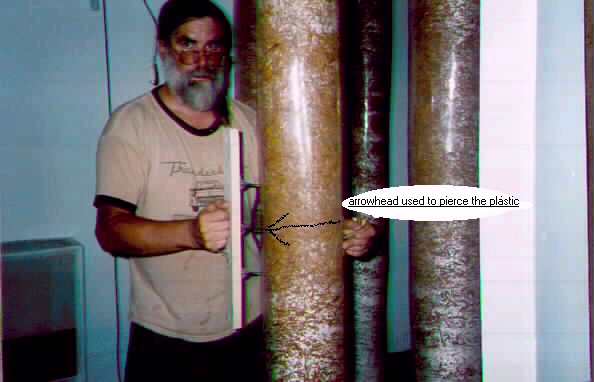
[Photo 11] Next, holes have to be punched in the plastic. To do this I use a board with several sharp arrowheads attached. The arrowheads cut a "+" shaped mark in the plastic, this lets the mycelium breath and provides a place for the mushrooms to form.
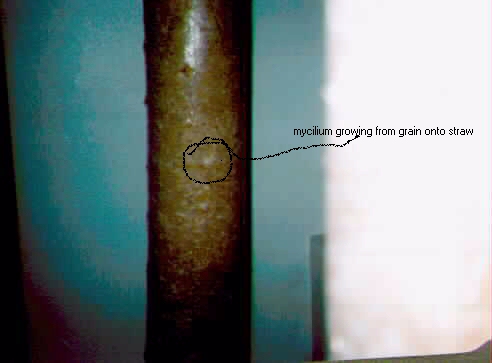
[Photo 12] I turn off the ventilating system, set the thermostat to 70° F, turn off the lights and kick back for a while. The mycelium is now hard at work growing throughout the straw. After a few days I should see the mycelium growing off the "seeds" of spawn and onto the straw.

|
|
|
| Photo 10 Logs hanging in Grow Room |
Photo 11 Punching holes in logs |
Photo 12 Mycelium starting to form |
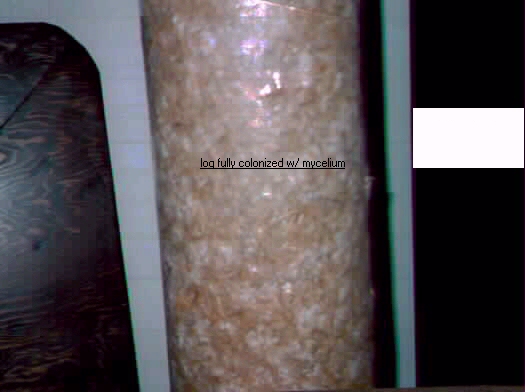
[Photo 13] After about two weeks (depending on which species), the log should be fully impregnated with the mycelium. Time to get back to work. The room now needs to have the temperature down to 50° F for 24 hours, the ventilation system needs to be adjusted to provide 3 or 4 air changes per hour, humidity needs to be increased to 85 to 90% and it has to "rain" on the logs (water them).
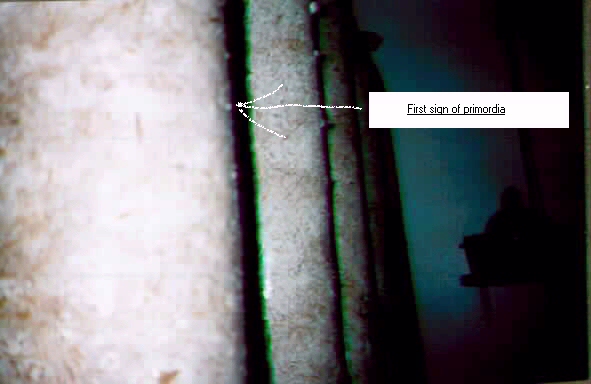
[Photo 14] Now set the temperature to 60° F, "rain" on your logs two times per day, turn on the lights for 12 hours per day, maintain the ventilation and humidity, and you should see primordia or "pinheads" forming at the holes in the plastic after several days. When this happens we will call it Day 1 for the photos.
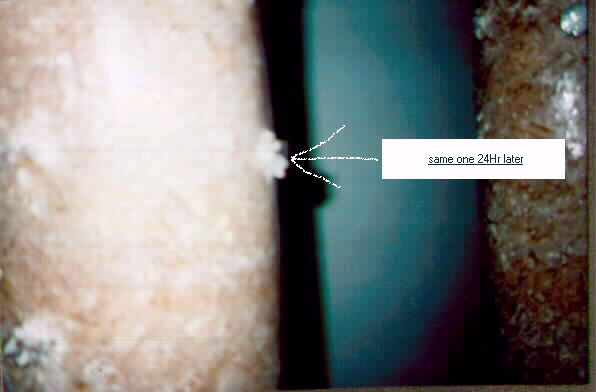
[Photo 15] Keep up the rain and watch them grow.
|
|
|
| Photo 13 Mycelium formed |
Photo 14 Day 1 - Primordia |
Photo 15 Day 2 - Keep raining |
|
|

|
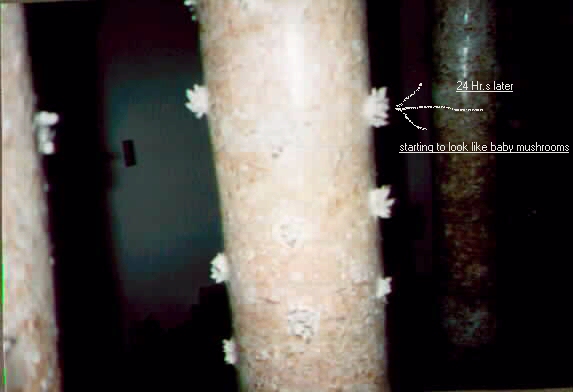
| Photo 16 Day 3 - Baby mushrooms |
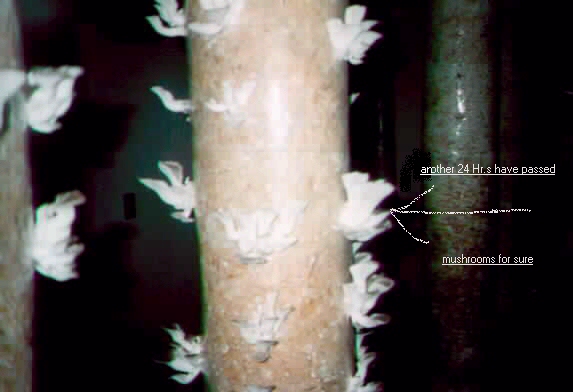
Photo 17 Day 4 - Those terrible teens! |
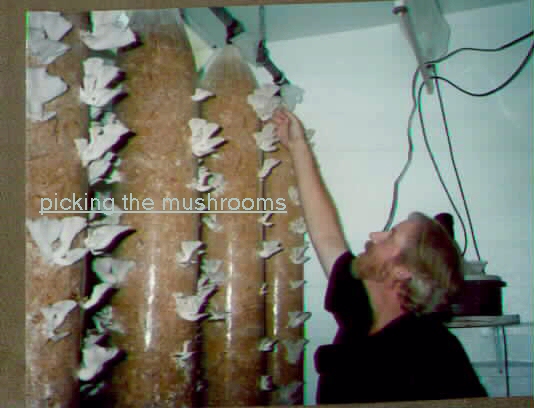
Photo 18 Day 5 - Ready to Pick |
[Photo 19] As you can see the mushrooms formed and grew quite rapidly, only 5 days from pinhead till they were ready to pick, that is why they seem to "pop-up overnight" in the wild. At this time it is easy to get your friends over to help you pick the mushrooms as long as they can keep what they pick.
|
Photographs courtesy of New Mexico Mushroom Garden |
| Photo 19 - A Tasty Harvest |
Copyright © 1998-2o25 by Lawrence Weingarten
~~~~~~~~~~~~~~~~~~~~~~~~
|
MycoWest.net/cult/i-grow | Accompanying Photos | : | growfoto.htm |
| Article without Embedded Images | : | i-grow-2.htm |